Table of Contents
|
How to create and use packing profilesIf you often create similar archives with the same parameters, TC4Shell allows you to set up reusable packing profiles which contain all packing parameters that you select, such as archive type and compression ratio. To create a new packing profile, select Pack to in the shortcut menu of a file you want, select the necessary archive format and related parameters in the window that opens, and then click Save as profile. 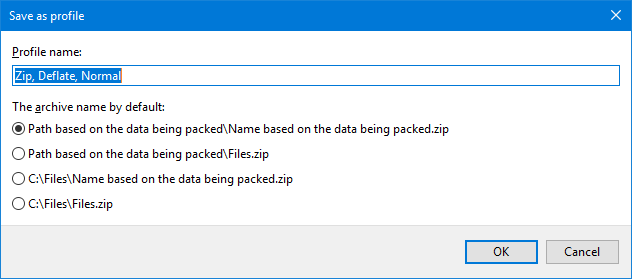
Enter the profile’s name, choose the archive’s default name, and then click OK. The profile will be saved or replaced (if it already exists) and then will appear in the Pack to>With profile menu. 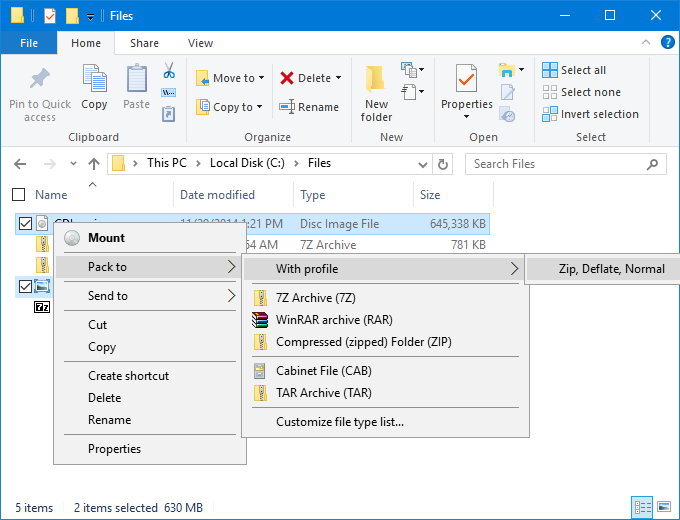
If you want to create a hierarchy of packing profiles, consider using the "|" character to separate the parent profile from its subprofiles. In this case, the Pack to>With profile menu will be displaying the list of profiles as a tree. In addition, you can use the variables listed in the list for the Pack file to archive and Comments fields when creating a new profile:
Important! If you specify any variable in the archive’s name during profile creation, the Save as profile dialog will be displaying only the profile’s name. To create an archive from a given profile, select this profile from the Pack to>With profile menu. Then in the Pack files window that appears, you will see all previously configured parameters for the profile with already populated values, e.g. 2024 instead of %YEAR%. If you want to view the initial variables (e.g. for editing purposes), simply hold the Shift key when choosing a profile. You can delete the profile with Delete profile. |
engrus